Subscribe to Mobile Artificial Insights – a weekly LinkedIn newsletter where we explore the practical applications of AI tools in every aspect of mobile marketing.
As a motion designer, I’m all about creating videos that grab your attention. And to stylize my work, I’m trying out some AI tools – no expert here, just starting to play around with them.
So today, I’m testing Stable Diffusion, Eb Synth and Disco Diffusion.
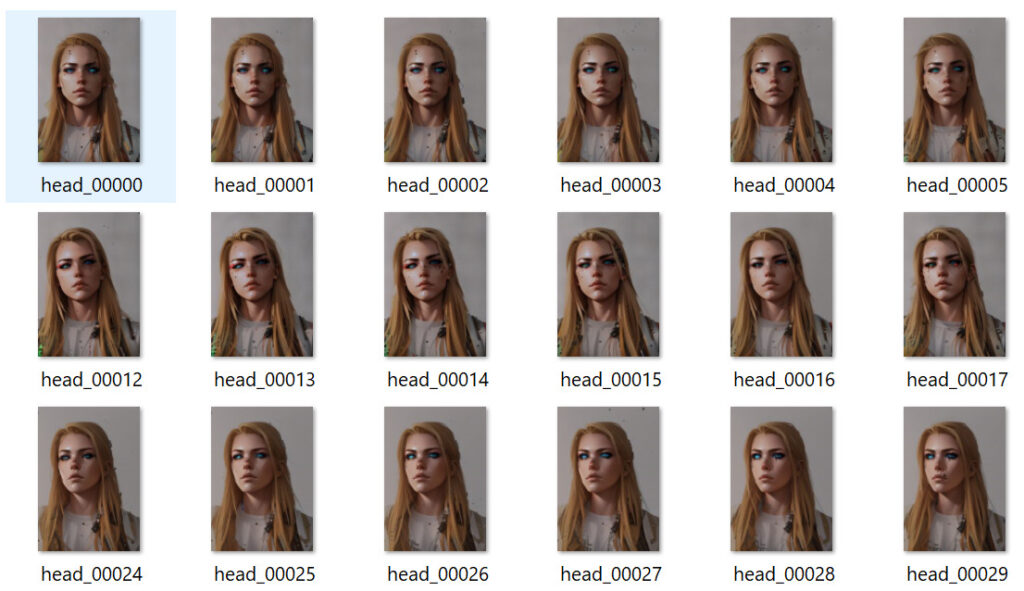
Every video is basically just a sequence of frames. So my plan is to stylize one frame in Stable Diffusion and then apply that style to the rest of them.
First, I installed Stable Diffusion on my laptop in order to have more control over the result. Then I used After Effects to render my video as a png sequence. Now, it’s time to see what these AI tools can really do!
Stable diffusion
In Stable Diffusion we need to use an Img2Img tab.
CFG Scale vs. Denoising Strength
To stylize my video in Stable Diffusion, I began by uploading a frame from the sequence and experimenting with different prompts while tweaking some settings. Although there are many adjustable parameters available, I consider two of them to be the most important: CFG scale and Denoising strength.
Denoising strength determines how creative we allow our AI to be with the output, while CFG scale controls how closely the result matches the input prompts. By finding the right balance between these two settings, I can achieve the perfect blend of creativity and accuracy in my stylization.
To illustrate the impact of Denoising strength, consider this example: when it’s set to a low value, the output stays closer to the original image even when using the same prompts and other settings. However, increasing the strength can take the output further away from the original, introducing more artistic creativity into the mix.
Choosing a model on Stable Diffusion
The result of the stylization process is also influenced by the choice of model used. In Stable Diffusion, each model represents a trained database of a specific style that can be downloaded for free here. There are tons of awesome styles available to choose from.
You can also create your own model and train it to generate precisely the style you’re after. I’m eager to experiment with this in the future, so stay tuned!
But let’s focus on the task at hand – stylizing our frame. The creative possibilities are virtually limitless, with a wide range of settings to tweak, prompts to try out, and style models to explore.
But we can’t allow Stable Diffusion to get very creative here, because it can lead to inconsistent results across frames. To maintain some level of consistency, it’s best to strike a balance and keep the amount of creativity in check.
Nevertheless we have to understand that every frame will be slightly different from one another. Once we are happy with the result, let’s head to the Batch tab.
In the Input directory line we copy the path to the folder with our png sequence of the video, Output directory—copy the path to the folder where our output frames will go.
With the settings adjusted to our liking, it’s time to hit the Generate button and let the AI work its magic. Depending on the complexity of the stylization, it may take several minutes to complete. But once it’s done, we’ll have a stylized png sequence of our video saved in the output directory we mentioned earlier.
All we have to do now is head back to After Effects, import that sequence, adjust the speed, and switch on the frame blending for a smoother result.
Here are some examples of different styles, prompts and settings. You see that the more creative we allow the AI to be, the more different one frame is from another.
Here’s a helpful tip: to speed up the process of generating the final stylized video, consider using every second frame from the png sequence. This will cut down on the time required by Stable Diffusion to stylize all the frames. It can also help create a smoother final result in After Effects (using frame blending). This technique also reduces any unwanted jitter in the final sequence. Trust me, your viewers will appreciate it!
EB synth
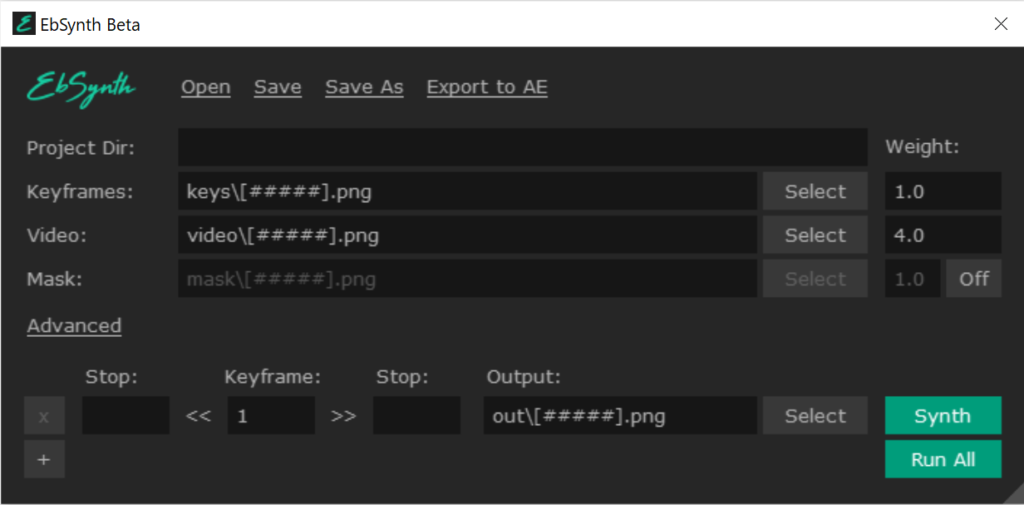
Ok, we have our video now, but is there a way to make it better? Let’s try Eb Synth.
This amazing AI software can take several stylized frames and apply them to the rest of the frames, but it’s not quite as straightforward as it may seem. Using just one stylized frame can work well if the subject in your video is relatively stationary and doesn’t do anything too complex, like turning or closing their eyes. However, for more complex movements, you’ll need to use more keyframes, and Eb Synth will blend them together to create a smooth transition.
My results weren’t perfect, but my aim was simply to test the software. With enough effort, more keyframes, and carefully selected stylized frames that match the source file more closely, the results can be really impressive. To give you a better sense of what I mean, check out these examples that demonstrate the difference between Stable Diffusion Img2Img batch function and Eb Synth.
Disco diffusion
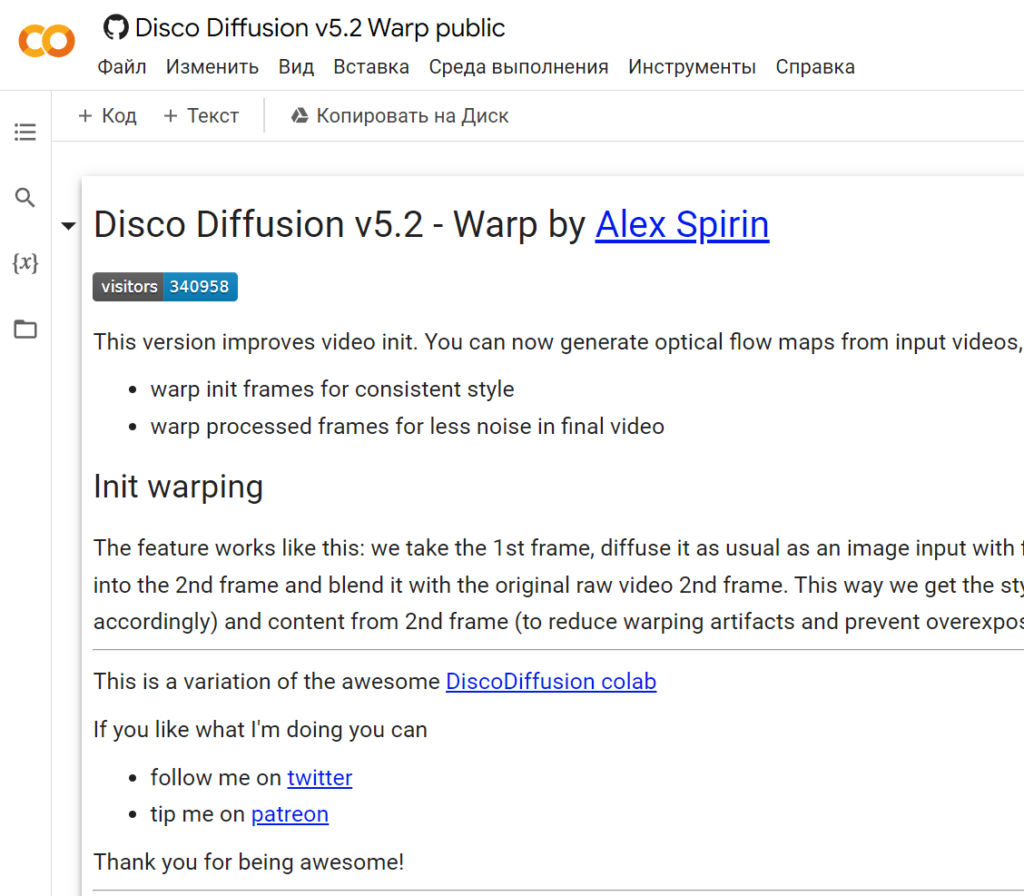
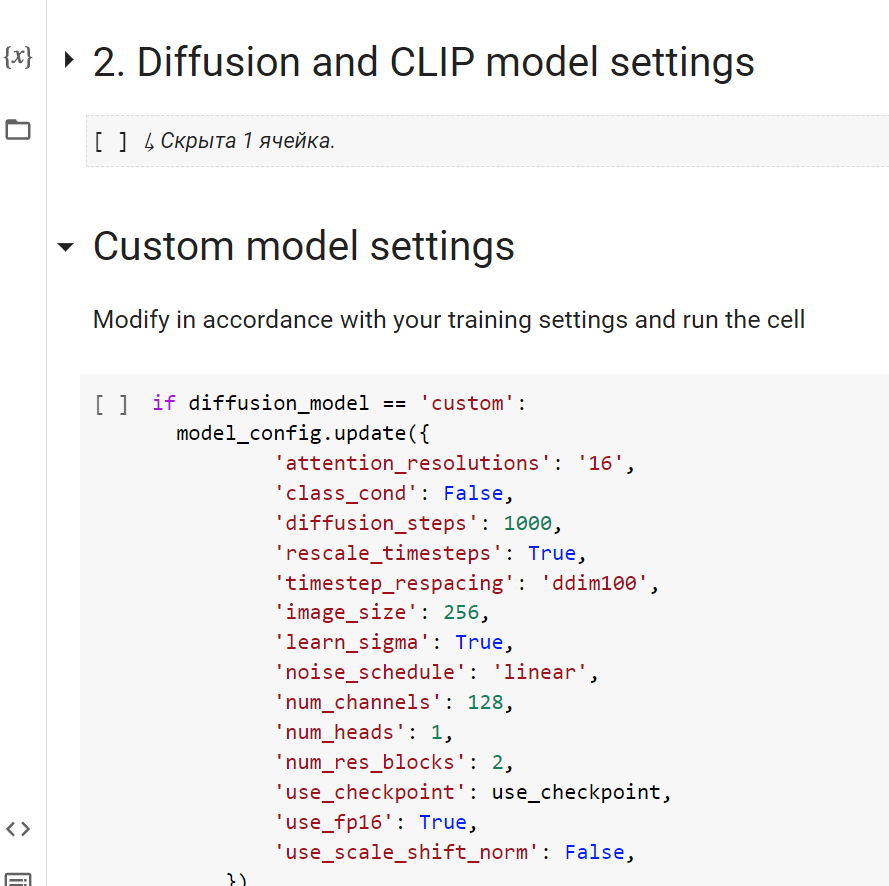
Now let’s test Disco Diffusion. This tool operates as a collaborative document hosted on Google Drive. All we have to do is upload a video (not a png sequence), adjust some settings (there are a loooooot of them…thankfully, they provide a helpful cheat sheet with explanations), and write our prompts to tell the AI what we’re looking for in our final result.
After that, all we need to do is run the code and let it work its magic. In no time, we can find a new folder on our Drive with a png sequence, and a final video file when all frames are rendered.
One thing I really appreciate about this AI tool is that it delivers a consistent style across all frames and creates a smooth transition between them, making it perfect for videos that require seamless transitions, like on TikTok or Instagram Reels.
Of course, you can adjust the settings to your liking, but there are also some drawbacks to consider. For one, you don’t have much control over the final style. Additionally, it can take several minutes to generate the first frame, and if you’re not satisfied with the result, you’ll have to stop the entire process and adjust the settings or prompts.
Finally, generating all the frames can be a lengthy process – for example, it took me three hours to generate 40 frames for the flower video below, whereas with Stable Diffusion, I typically only spend 10-15 minutes for the same amount of frames.
Here are some of my first test results with Disco Diffusion:
Final Thoughts
So to sum it up, while there is no one-size-fits-all solution for creating the perfect video using just one stylized frame or text prompts, there are many different approaches you can take. The tools I’ve shown here are just the beginning of the process.
Gen-1 from Runway looks promising, but I’m still on the waitlist to test it out. In the meantime, I’ll continue to use different AI tools to find the best solution for my creative needs.
What’s exciting is that there are seemingly endless ways to stylize videos by combining different tools and techniques.
Keep up with appagent
📕 Learn more about industry insights and best practices by signing up for our newsletter.
🤝 Get help with growth strategy, app marketing, user acquisition and video ad production by contacting us at hi@appagent.com.